Choose Your Adventure
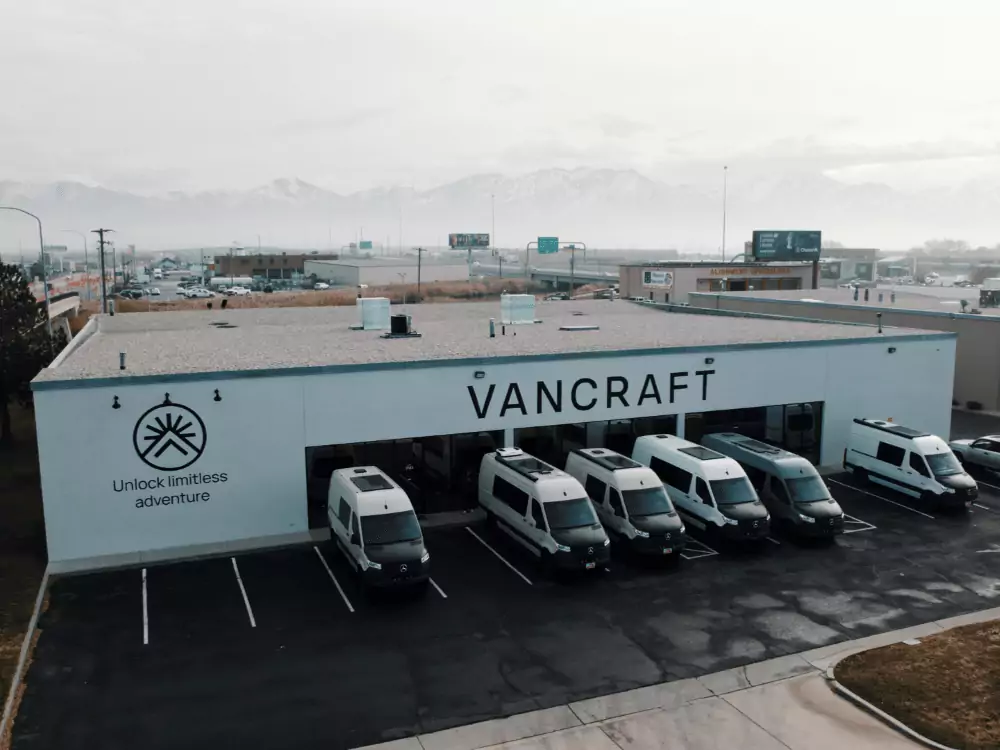
Our Locations, Your Adventures
Explore our strategic locations and their offerings to get the quality care you deserve.
Salt Lake City
Denver
San Diego

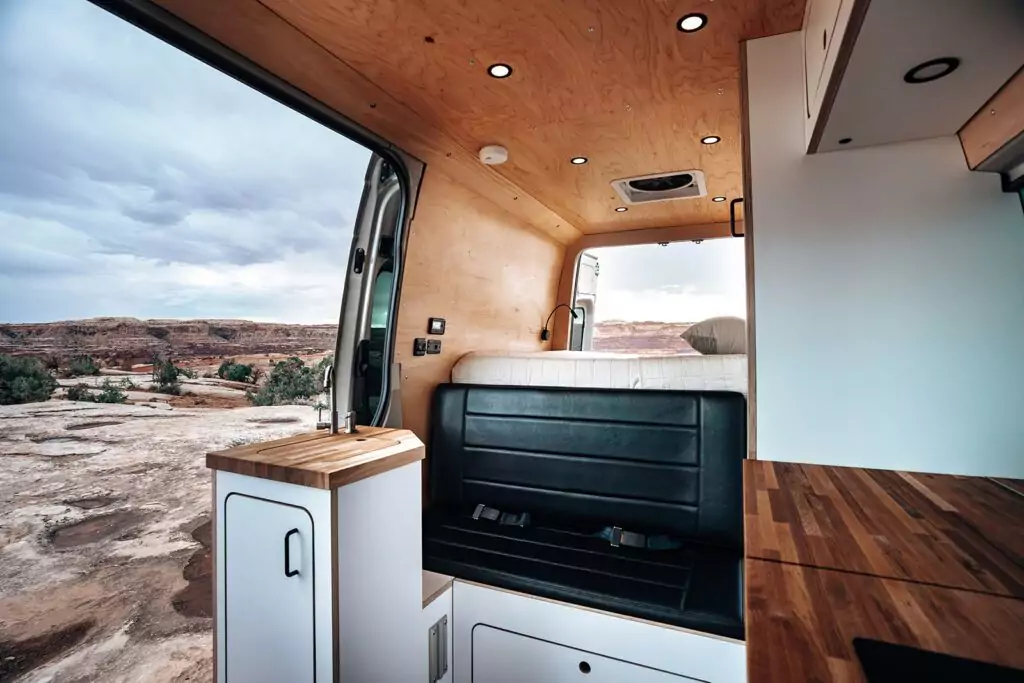
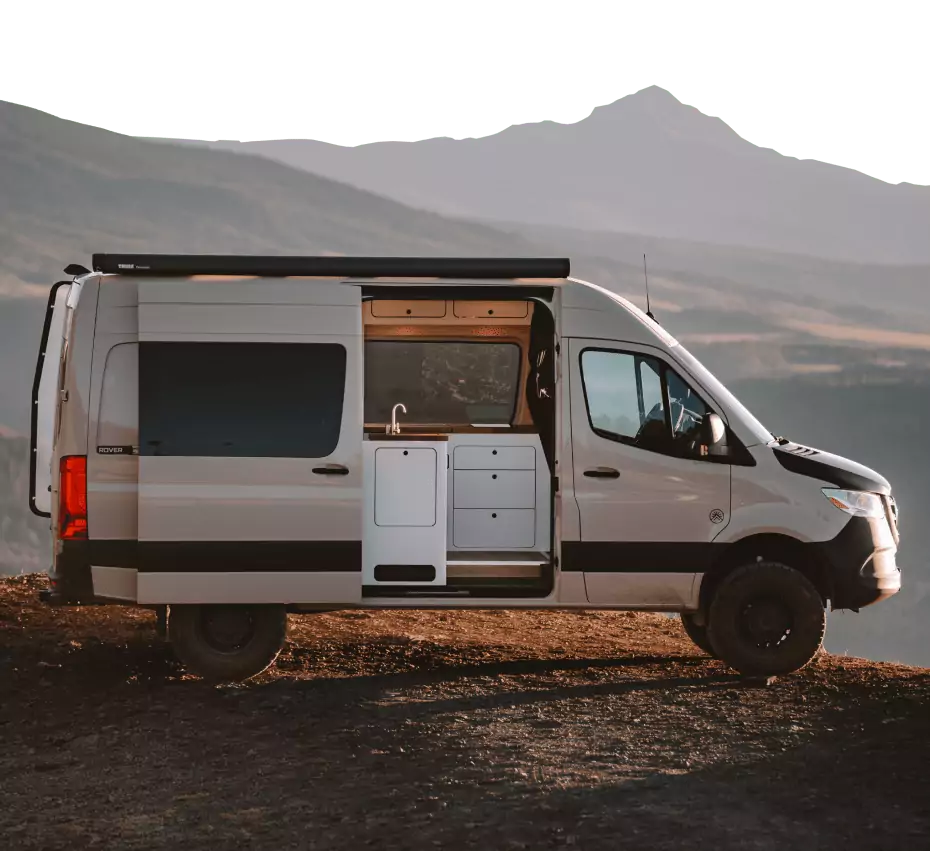
The Freedom
To Explore
To Explore
Embrace the open road with limitless possibilities. Our campervans are your passport to adventure in the everyday.

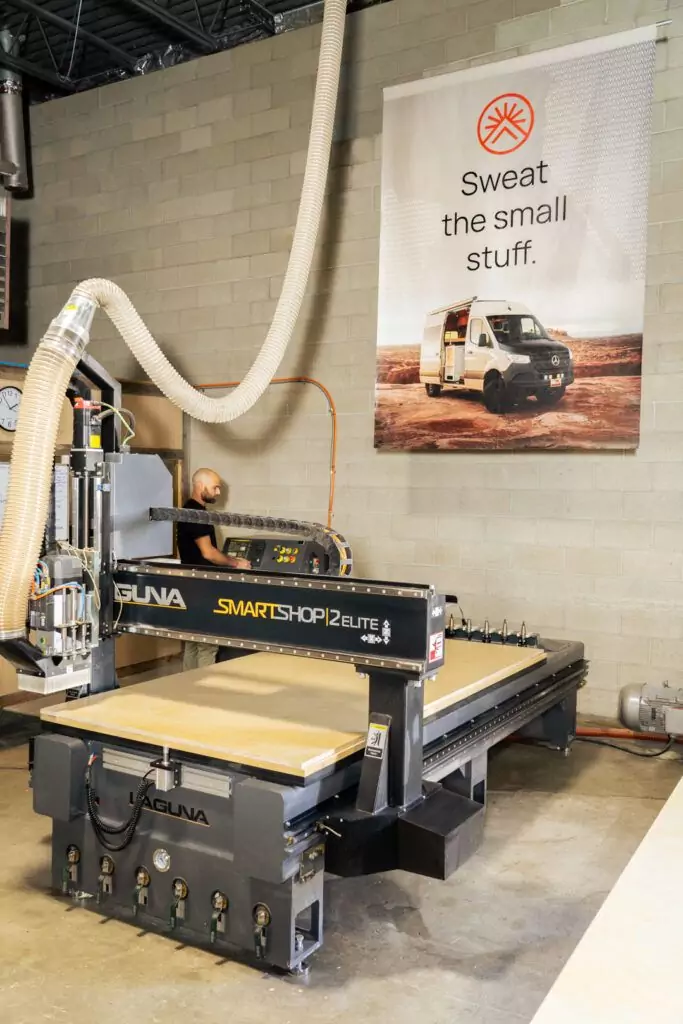
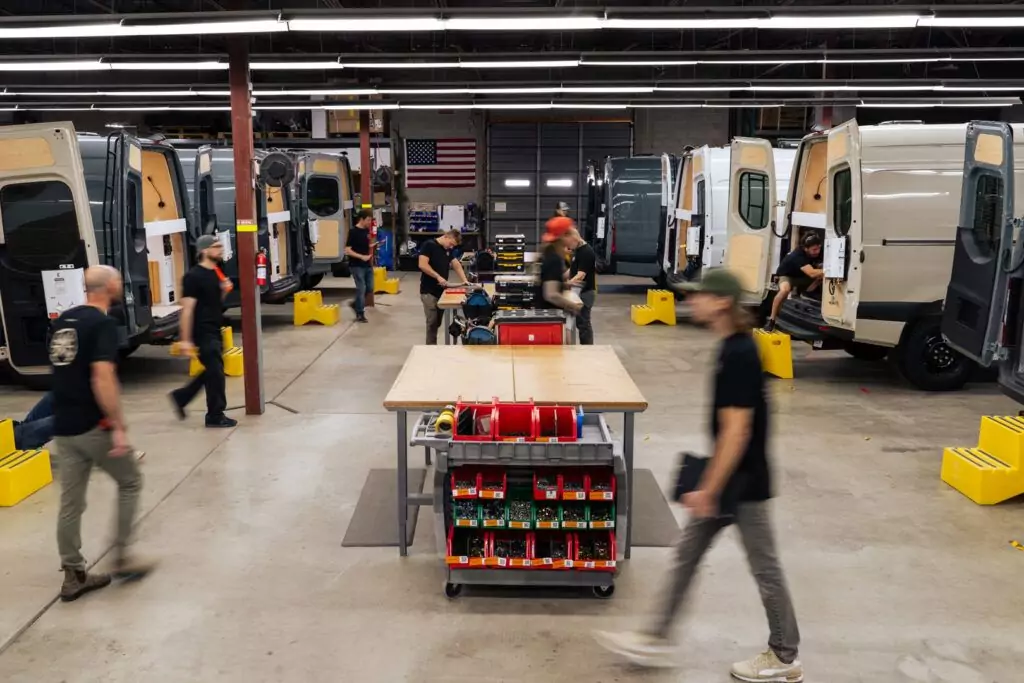
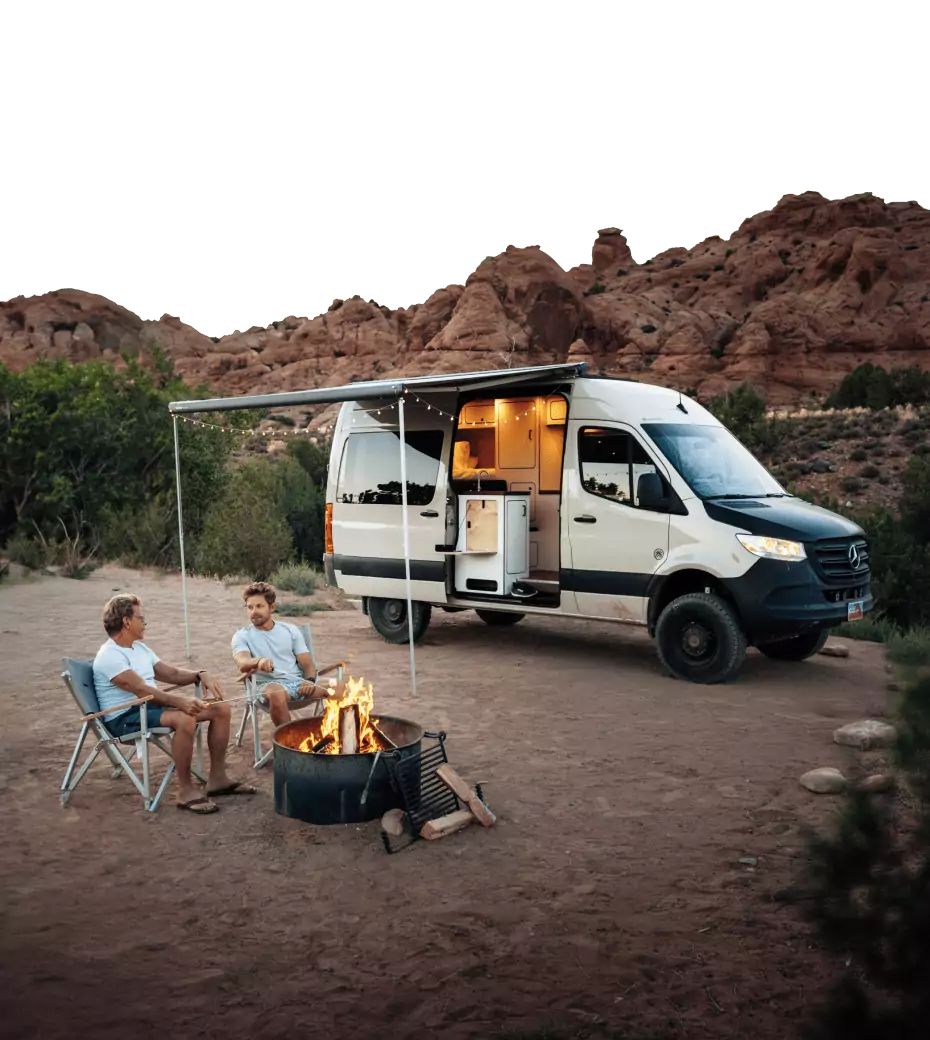
We Take Pride in Our Craft
Every campervan we build is a testament to our dedication to excellence. Experience the unmatched quality born from passion and craftsmanship.